How to Design an Operations Dashboard That Drives Decisions
Plan operations dashboard metrics, data sources, layouts, and review routines with a practical implementation example. The goal is to build a process that your team can explain, maintain, and improve—not simply reproduce a product demonstration.
Before you begin: map the real work
Identify what starts the process, which people participate, what information each person needs, and what counts as complete. Write down the current sources of confusion. A useful workflow should reduce uncertainty about ownership, next actions, and deadlines. If the process itself is undefined, adding software usually makes the ambiguity more visible rather than fixing it.
Start with a small, representative sample of work. Include a routine item, an urgent item, an incomplete item, and one that is waiting on somebody else. These exceptions reveal whether your process can cope with actual team conditions.
1. Define the decision first
A dashboard should help someone decide what to do next. Start with the decisions made each day or week and work backward to the information required.
Example in practice
A support manager needs to know which requests are overdue, which queue is growing, and whether work is unassigned.
Implementation check
For each metric, record who owns the decision it informs. Write down the rule in language a new colleague could follow. Test it with a real record and verify the outcome before applying it to the entire team.
Why this matters: A consistent definition allows colleagues to coordinate without asking for clarification every time a record changes. It also makes later filtering and reporting more reliable. If the setup creates more manual maintenance than the work it replaces, simplify the process.
2. Choose defensible metrics
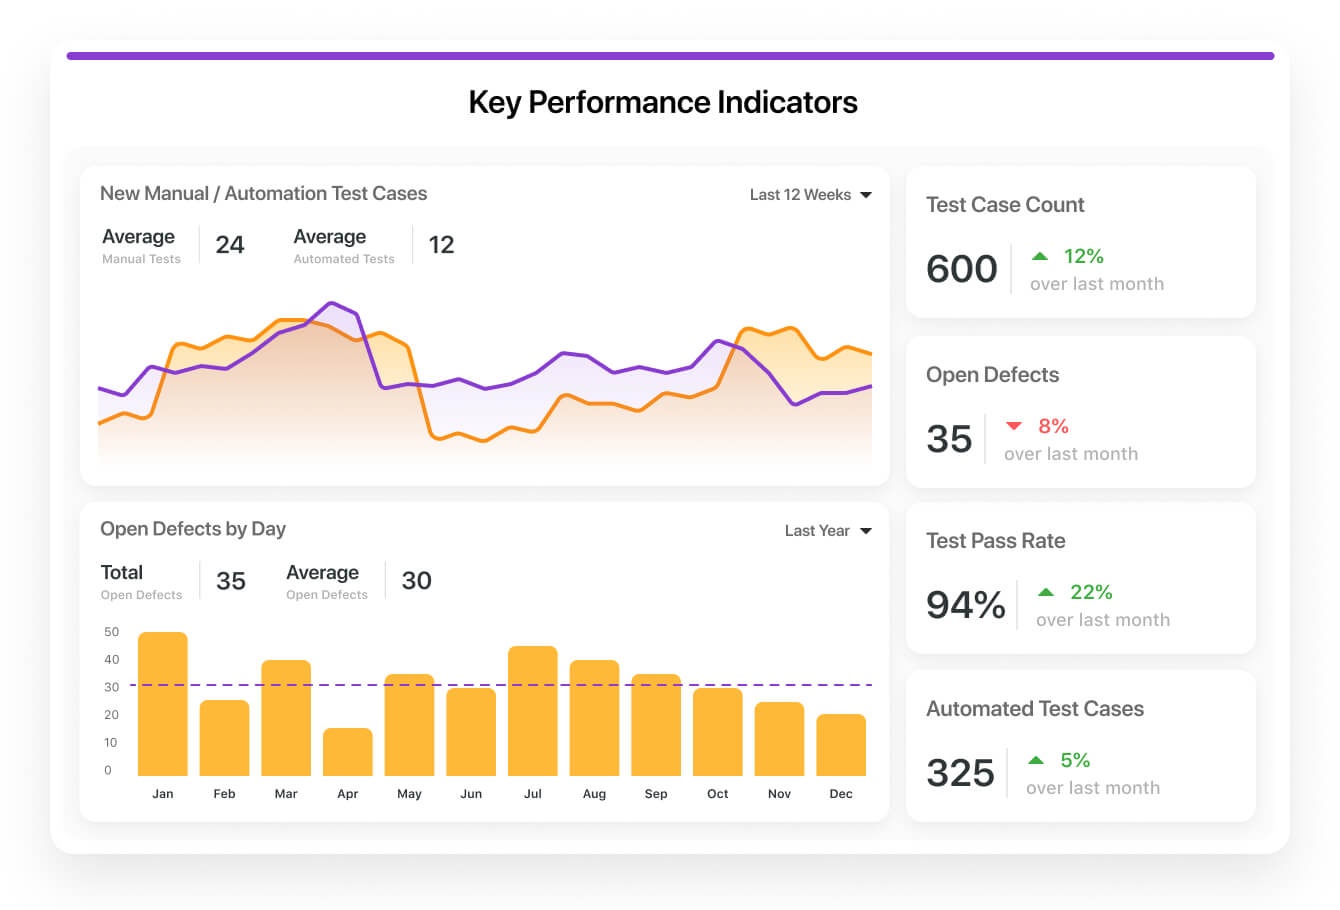
Counts, trends, and exception lists answer different questions. Counts describe volume; trends show direction; exception lists point to work needing intervention. Do not mix them without clear labels.
Example in practice
Use open requests, overdue requests, and requests by status as three separate views.
Implementation check
Define exactly what counts as open, overdue, and completed. Write down the rule in language a new colleague could follow. Test it with a real record and verify the outcome before applying it to the entire team.
Why this matters: A consistent definition allows colleagues to coordinate without asking for clarification every time a record changes. It also makes later filtering and reporting more reliable. If the setup creates more manual maintenance than the work it replaces, simplify the process.
3. Validate the source data
A clean chart can hide missing records, inconsistent statuses, and incorrect date filters. Compare the dashboard totals with a filtered list of underlying records before sharing it.
Example in practice
If a chart shows twelve overdue tasks, open the matching records and verify their due dates.
Implementation check
Repeat the reconciliation after changing a filter or calculation. Write down the rule in language a new colleague could follow. Test it with a real record and verify the outcome before applying it to the entire team.
Why this matters: A consistent definition allows colleagues to coordinate without asking for clarification every time a record changes. It also makes later filtering and reporting more reliable. If the setup creates more manual maintenance than the work it replaces, simplify the process.
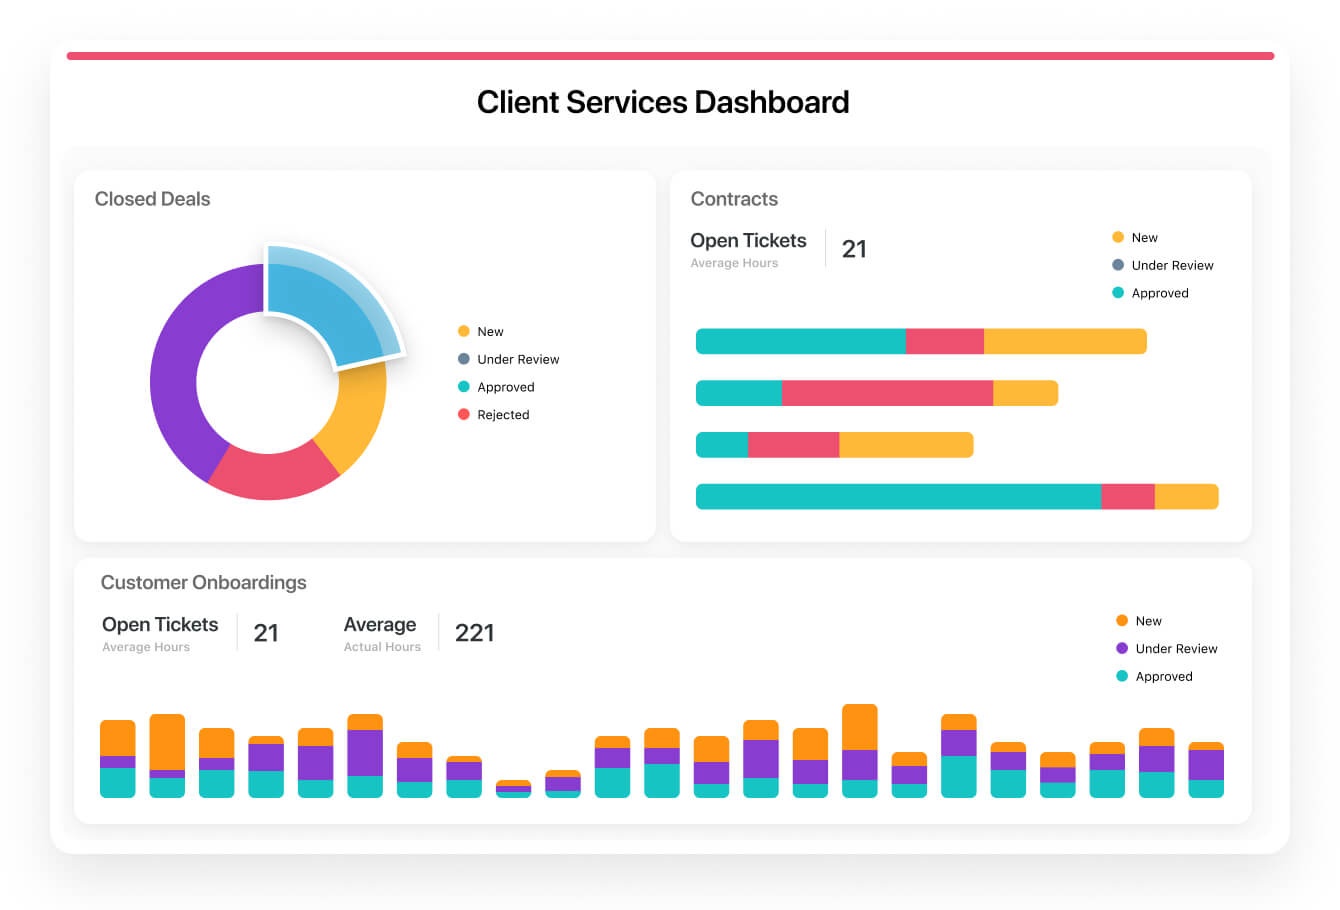
Watch the related workflow demonstration
The following video comes from the supplied SmartSuite training collection and illustrates a relevant interface or workflow. Use the demonstration to understand the controls, then adapt the underlying process to your team's needs. The video is not a substitute for checking current plan availability or testing your own configuration.
4. Design for scanning
Place the most important exceptions near the top. Use consistent time periods and plain-language labels. A dashboard with too many decorative widgets is harder to act on.
Example in practice
Put urgent exceptions first, workload distribution second, and historical trends below.
Implementation check
Ask a colleague to explain the dashboard in thirty seconds. Write down the rule in language a new colleague could follow. Test it with a real record and verify the outcome before applying it to the entire team.
Why this matters: A consistent definition allows colleagues to coordinate without asking for clarification every time a record changes. It also makes later filtering and reporting more reliable. If the setup creates more manual maintenance than the work it replaces, simplify the process.
5. Create a maintenance routine
Assign an owner to review broken filters, stale metrics, and unused widgets. The reporting process should evolve as the underlying workflow changes.
Example in practice
Revisit the dashboard after introducing a new status or request type.
Implementation check
Record the last review and any metric-definition changes. Write down the rule in language a new colleague could follow. Test it with a real record and verify the outcome before applying it to the entire team.
Why this matters: A consistent definition allows colleagues to coordinate without asking for clarification every time a record changes. It also makes later filtering and reporting more reliable. If the setup creates more manual maintenance than the work it replaces, simplify the process.
How to roll this out without disrupting the team
Run the first version with a limited group of users. Observe where they hesitate, which fields they leave empty, and what questions they ask. Document the current workflow before adding automation. Review the pilot after a short, defined period and keep the changes that demonstrably improve clarity or handoffs.
- Choose one owner: appoint somebody to maintain the workflow definitions and resolve inconsistent records.
- Agree on update timing: decide when users must record changes and what happens if they cannot.
- Review exceptions: regularly inspect blocked, overdue, or unassigned work instead of treating the dashboard as a passive report.
- Adjust one variable at a time: change a stage, field, or notification and check whether it reduces friction.
- Document the result: keep a short explanation of the workflow so new team members can follow it.
Common mistakes to avoid
Adding more fields than people can maintain
Every required field creates an update obligation. Remove fields that do not drive a decision, handoff, or report. If a field is frequently left blank, ask whether it is genuinely needed.
Building dashboards before the records are reliable
Charts and summary views can make inaccurate information look authoritative. Validate underlying records and field definitions first, then use reporting to identify exceptions.
Assuming software replaces accountability
Software can display ownership and route work, but it cannot decide who should be responsible. Assign clear decision rights and escalation paths before relying on automated notifications.
Software selection: when a flexible work platform may help
A structured work-management platform can be useful when the same records need multiple views, owners, and repeatable handoffs. SmartSuite is one platform to evaluate for these needs. Before choosing it, confirm the current capabilities, limits, permissions, integrations, and pricing against your requirements. The workflow principles above can be applied without SmartSuite.
Affiliate disclosure: The following recommendation uses a tracked affiliate link. WorkflowWise may earn a commission if you purchase after visiting the vendor, at no additional cost to you. Our guidance is independent and the educational steps do not depend on a purchase.
Evaluate SmartSuite against your requirements
Use the pilot checklist above while reviewing the product's current features and plan information.
Visit SmartSuite ↗Frequently asked questions
Should we start with a template?
A template can be a useful reference, but compare its fields, stages, and permissions with your actual process. Remove anything the team cannot explain or maintain.
How do we know whether the new workflow is better?
Choose observable outcomes before the pilot: fewer missing owners, fewer overdue handoffs, shorter time spent preparing updates, or fewer duplicate records. Avoid claiming improvement without baseline measurements.
When should we automate?
After the manual process has predictable inputs, owners, and outcomes. Automation applied to inconsistent records can accelerate mistakes and make exceptions harder to diagnose.